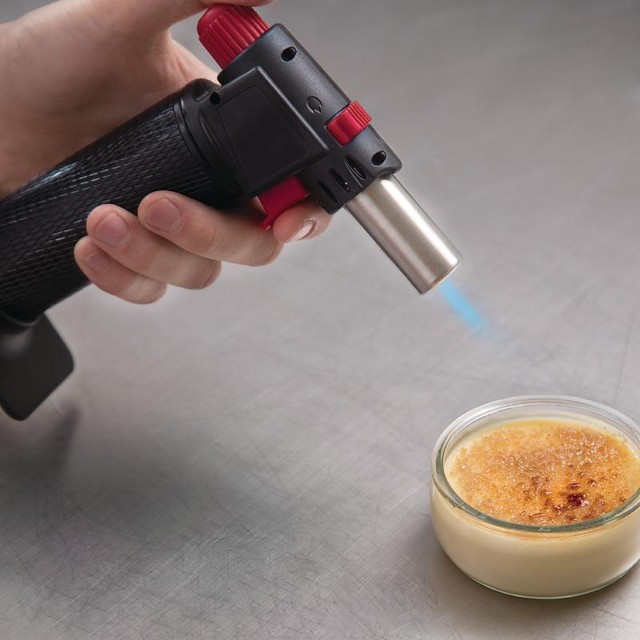
For a finishing touch and a final flourish, nothing makes an impact quite like the kitchen blowtorch. Using a handheld blowtorch takes a little bit of know-how to make sure you’re doing it safely and effectively, but once you’ve mastered it you will be able to add a professional edge to your cooking.
With the help of Nisbets catering supplies specialist, I’ve created a guide to how to use a kitchen blowtorch.
What foods work with a blow torch?
Anything that you can char or caramelise works well with a blowtorch. Any one of the following will work great:
- Crème brûlée – caramelise a fine layer of sugar to create a crisp top;
- Meringue – on pies or baked Alaska, give meringue a golden colour and caramel flavour;
- Vegetables (especially peppers) – enjoy the flavour of roasted veggies in half the time;
- Steaks – char the outside of the meat whilst retaining the meat juices.
How do you do it?
You need butane lighter fluid for your kitchen blowtorch, so make sure you have the right fuel before starting. Make sure the valve is in the OFF position and turn the appliance upside down. Put the lighter fluid’s stem into the valve and push down. Hold down for several seconds until you hear a hissing sound, and keep filling the valve until you notice back spray, which will show you that your blowtorch is full.
Once the torch is full, you are ready to use it. Check that nothing is obstructing the torch and then switch the torch to ON. When you can tell the gas is coming out of the burner, push the red ignition and the flame will light. To keep things safe and in your control, light the flame away from the food. Make adjustments to the flame until it is dark blue – and you’re ready to go!
Once you’re done, turn the off switch on the torch, which should stop the flow of gas. Check no gas is coming from the valve, and then leave to cool.
Find out more on the Nisbets website.


